Let's revisit 4/5/2024 today and our AIxCreative Newsletter # 48! That one time we almost forgot to post lol. Lots of good stuff here so please read on and lets connect soon!
This week was so busy that I forgot about the newsletter until last night at 9pm! So here is #48 sneaking in at the last minute (sorry for any typos, I moved through this fast).
- Strategy: Stringing Ai Tools Together
01 / STRATEGY
Stringing Ai Tools Together
I was honored to be the master of ceremonies. There’s a first time for everything and I somehow made my way through it in one piece.
During my kick-off on day 2, instead of a talk, I spent 20 minutes showcasing what’s possible by stringing together a series of Ai tools. I thought for today’s newsletter I’d touch on that workflow here where I explored concepts for protective head gear.
Step 01
Goal: Consumer Profile + Visual Mood Board
Tool: Mooed & Midjourney
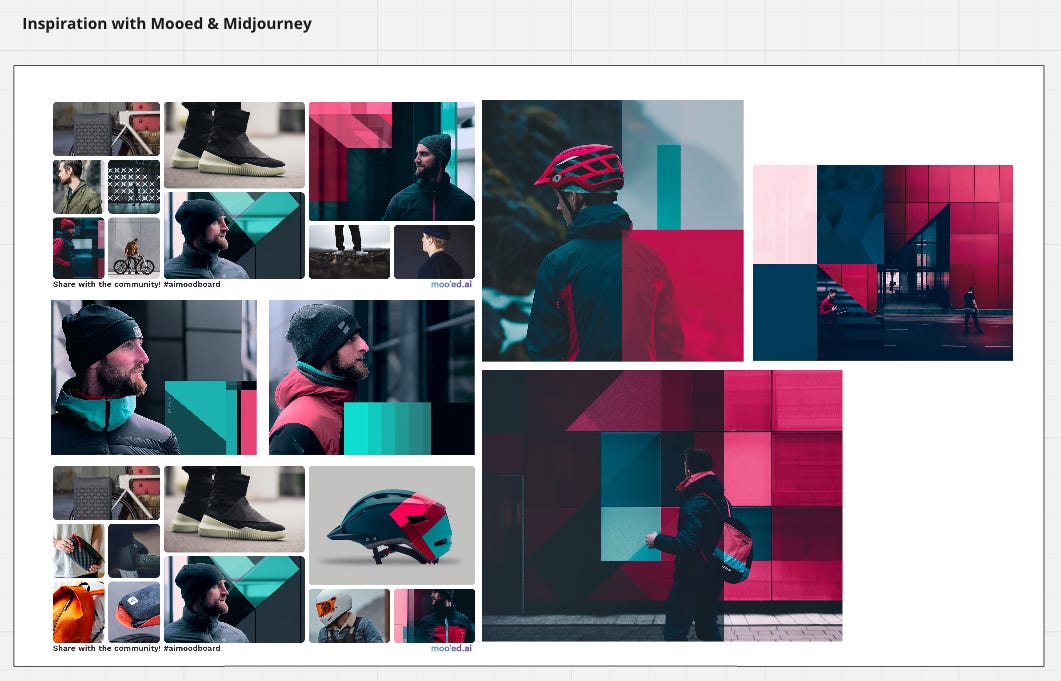
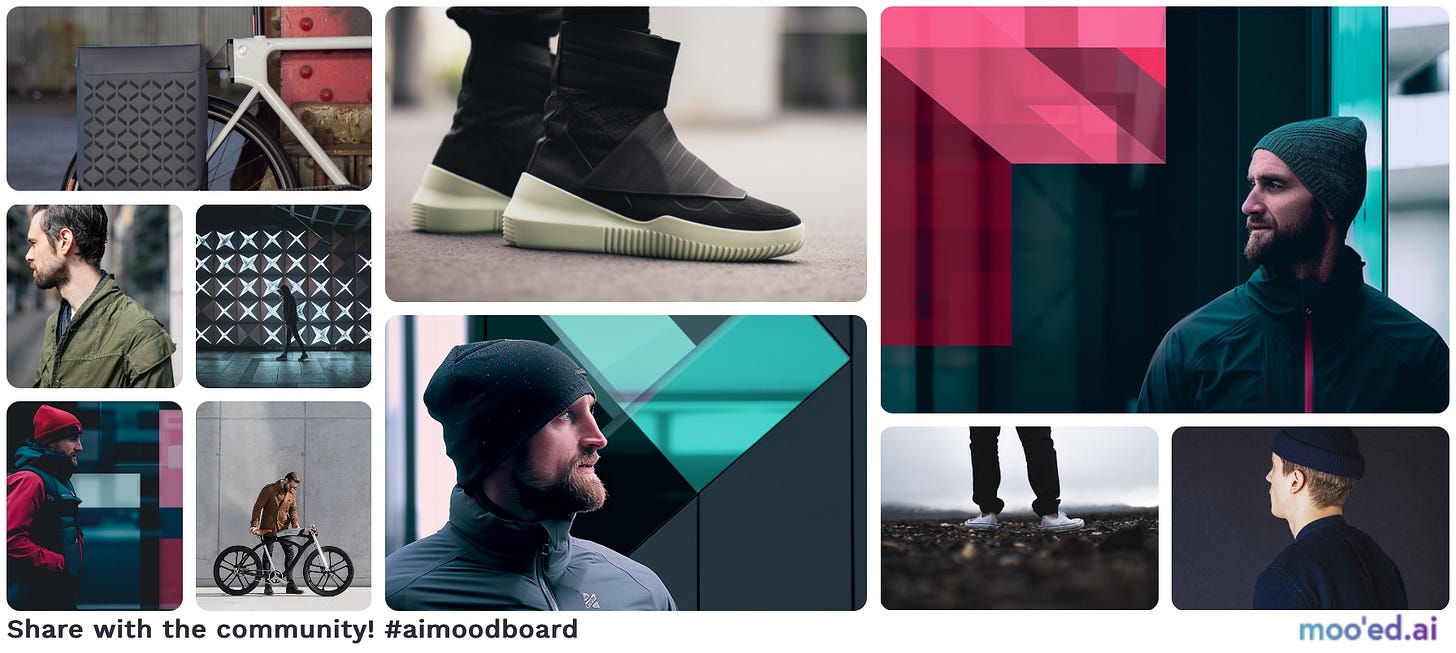
First, I wanted to showcase how we can quickly visualize a consumer profile and have that serve a secondary function as the beginning of a visual mood board.
I utilized Midjourney’s image reference tools (image reference + style reference) to start getting some images all around a similar color and design language theme. That meant I had to dig in my archives for a couple of base images to start with in the name of expediency. I could have also created these from scratch.


Once I landed on a few images that I felt captured the vibe I was going for, I jumped into Mooed.ai to quickly help me fill out my mood boards with other applicable images. Here’s a close up of the resulting mood board:
Step 02
Goal: Sketches (Low Fidelity)
Tool: Midjourney
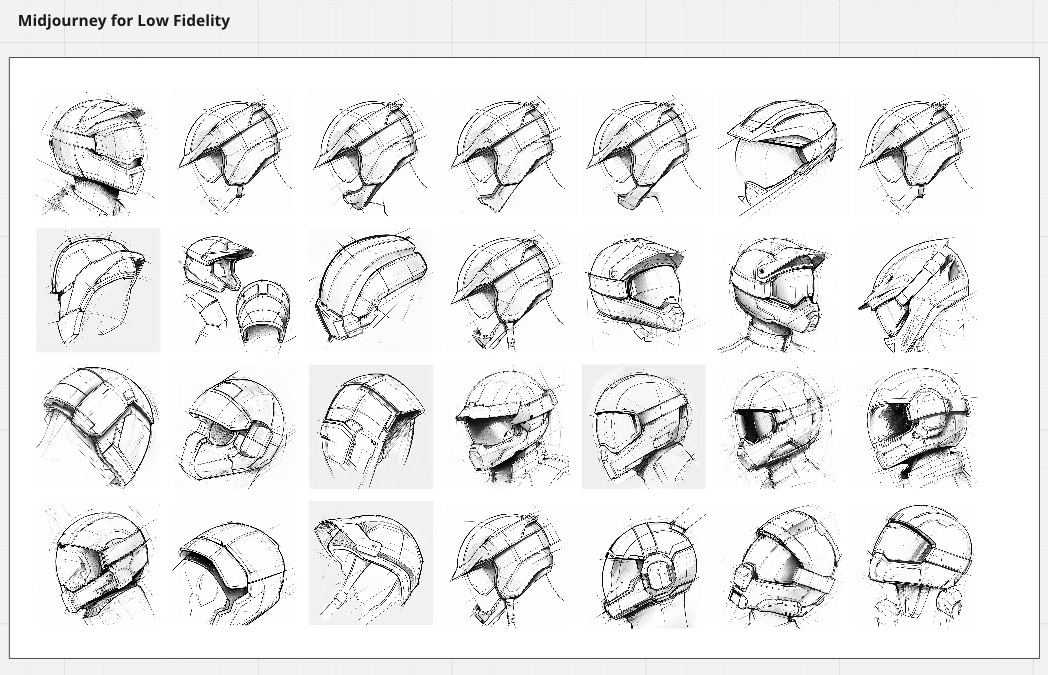
I then went into Midjourney to quickly get some base sketches going. I worked up a simple prompt and utilized style reference images to help get me the sketch look I was after. I fed it these three sketches of mine as a starting point:
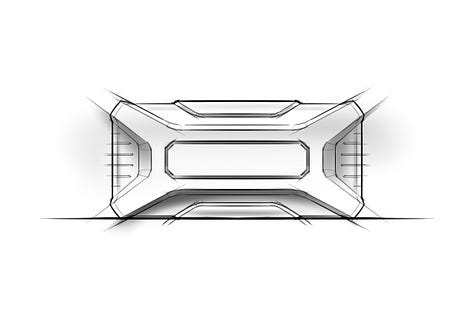
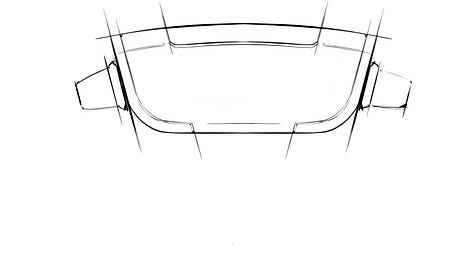
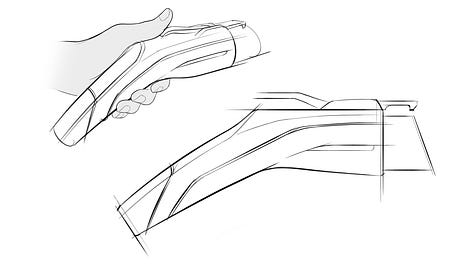
I spent a very short time on this phase, but I could have easily spent time refining any of these sketches via Vary by Region. For the purpose of this exercise I picked two and moved on.
Pro tip: I talk often about how it’s easy to get caught up in photorealism with these Ai tools. But there are a lot of benefits to low fidelity visualization and they have to do with the permission they give us to edit. Critical at this phase of work.
Step 03
Goal: Sketches (Low to Mid Fidelity)
Tool: Midjourney
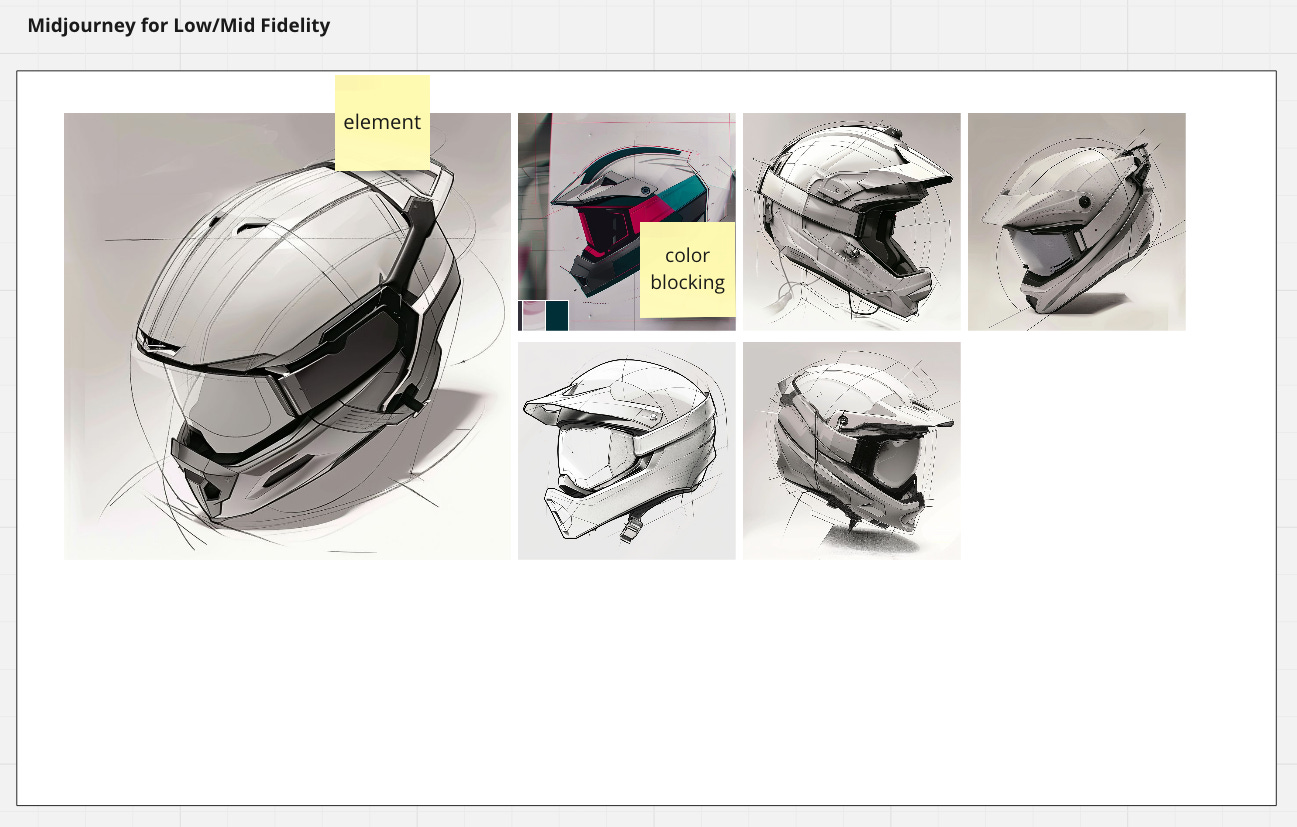
I quickly wanted to see if I could step up the fidelity. I did this by adding a different type of reference image to the mix that brought with it this more sketch render style. It was actually an image that came out of a Vizcom render from Step 04, so worked back to do this quick exercise.
Pro tip: Mix reference images with style reference images for interesting new results in fidelity.
Step 04
Goal: Sketch Renders
Tool: Vizcom
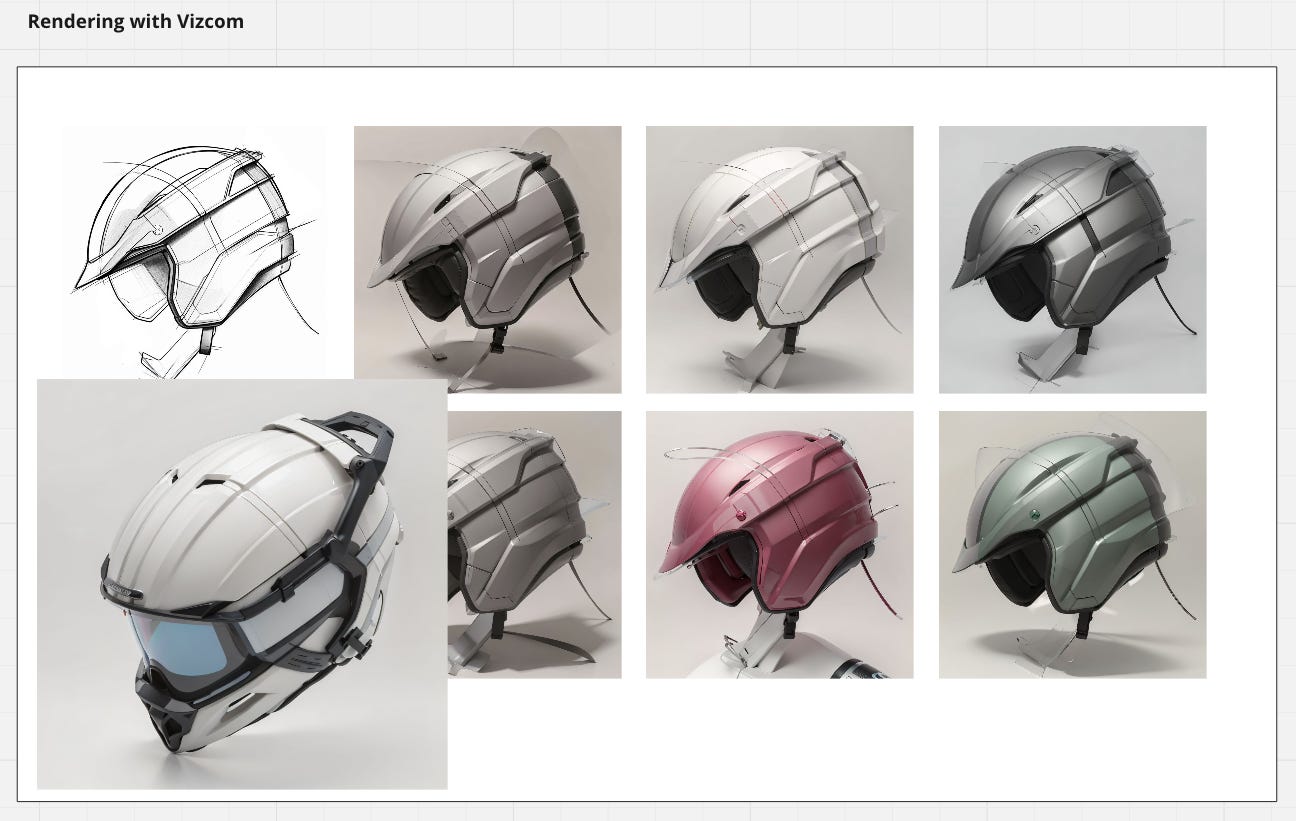
I then went into Vizcom to get some shading on these sketches. Interesting to note here that you can see how a linework sketch renders out in the 6 images to the right. You can also see how a more rendered starting point renders out in the bottom left image.
Pro tip here is that the cleaner your linework, the more controlled the results. Here it was all loose and fast, but it can always get tighter.
Step 05
Goal: Iterations
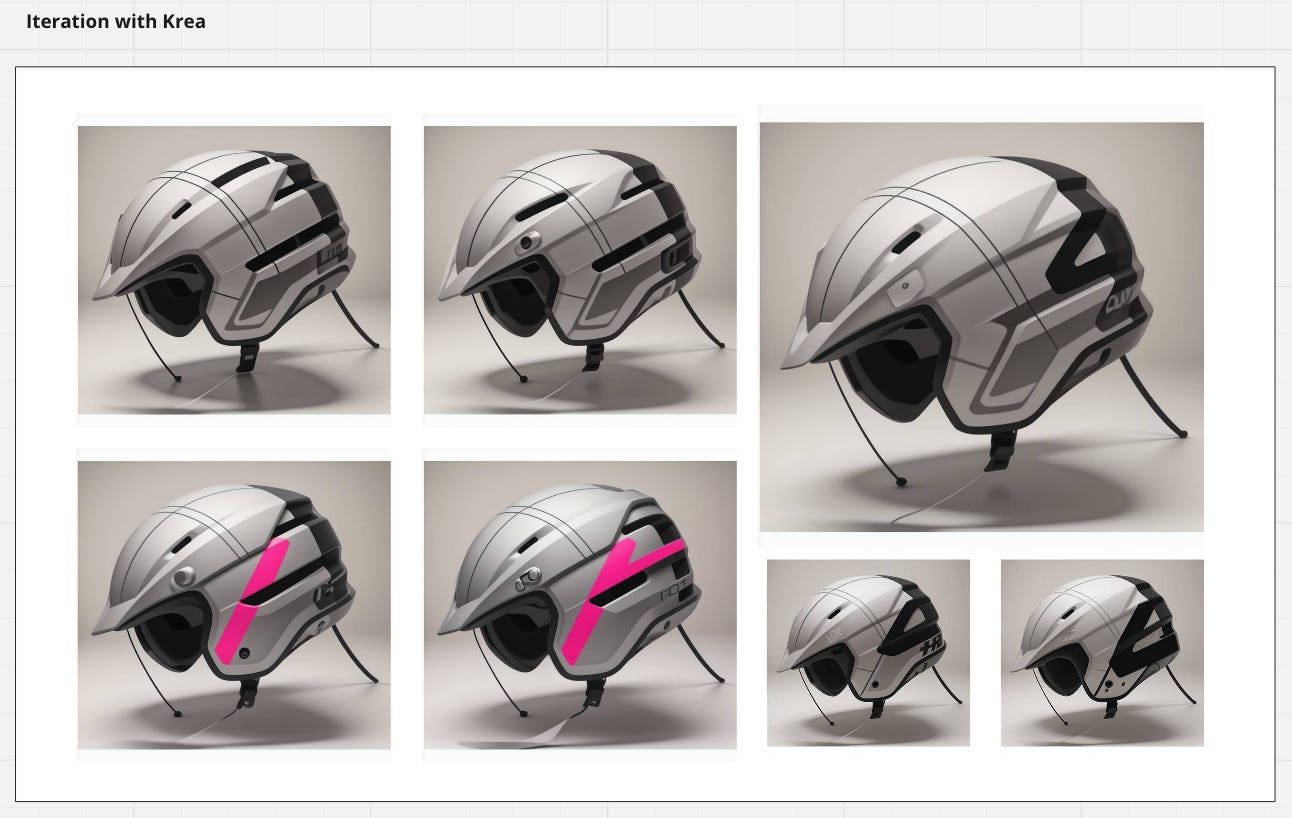
Tool: Krea
Now that I had higher fidelity visual, I jumped into Krea. This tool allows me the ability to iteration on a good starting foundation, in this case the renders from Vizcom.
Here I was able to explore vent patterns and product graphics.
Pro tip with Krea is to get creative with inputs. An input is what will be your starting point. You can input an image, video, a screen share.
Step 06
Goal: Product Graphics
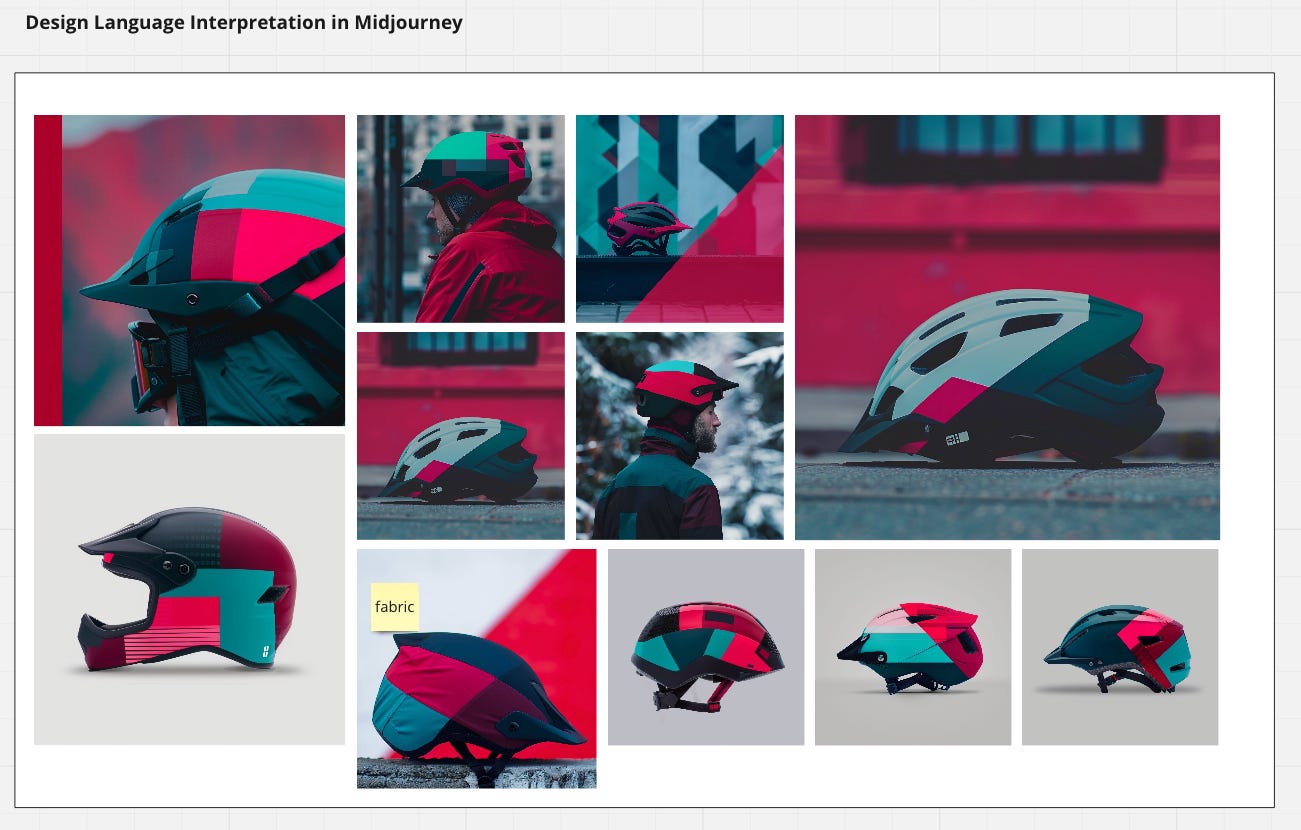
Tool: Midjourney
To wrap things up I wanted to get some product graphic looks going so that I could utilize further down the road. I did this in Midjourney by removing any sketch terminology from the prompts and focusing it on photorealism instead. I then utiziled my mood board imagery as style reference to infuse that look.
Was pretty happy with the results as a starting point for discussion.
Pro tip: Let the tool explore. You curate.
Step 07
Next Steps
This was about 20 to maybe 30 minutes of effort when all was said and done. The idea here was to showcase what the tools can do.
This is the modern “concept”. We can now do this instead of just one simple sketch in 30 minutes.
It was also meant to showcase how critical a domain expert is and how important it is to have design expertise. Again, this is just a concept. From here, we need expertise in costs, dfm, cmf, consumer insights, stakeholder buyin and a host of other considerations. Considerations that only professional designers with domain expertise can bring to the table.
That’s it for today. Have a great weekend!
Hector
p.s. In this ever changing industry of Ai design it is always best to start NOW and not later when it comes to using and learning from Ai design courses. Good, relevant Ai design classes are hard to come by and so we are very proud of the online Midjourney Ai Courses that we offer to help anyone jump in and become an effective Ai designer. Check out all we have to offer in the world of Ai design courses and we look forward to connecting soon!


